
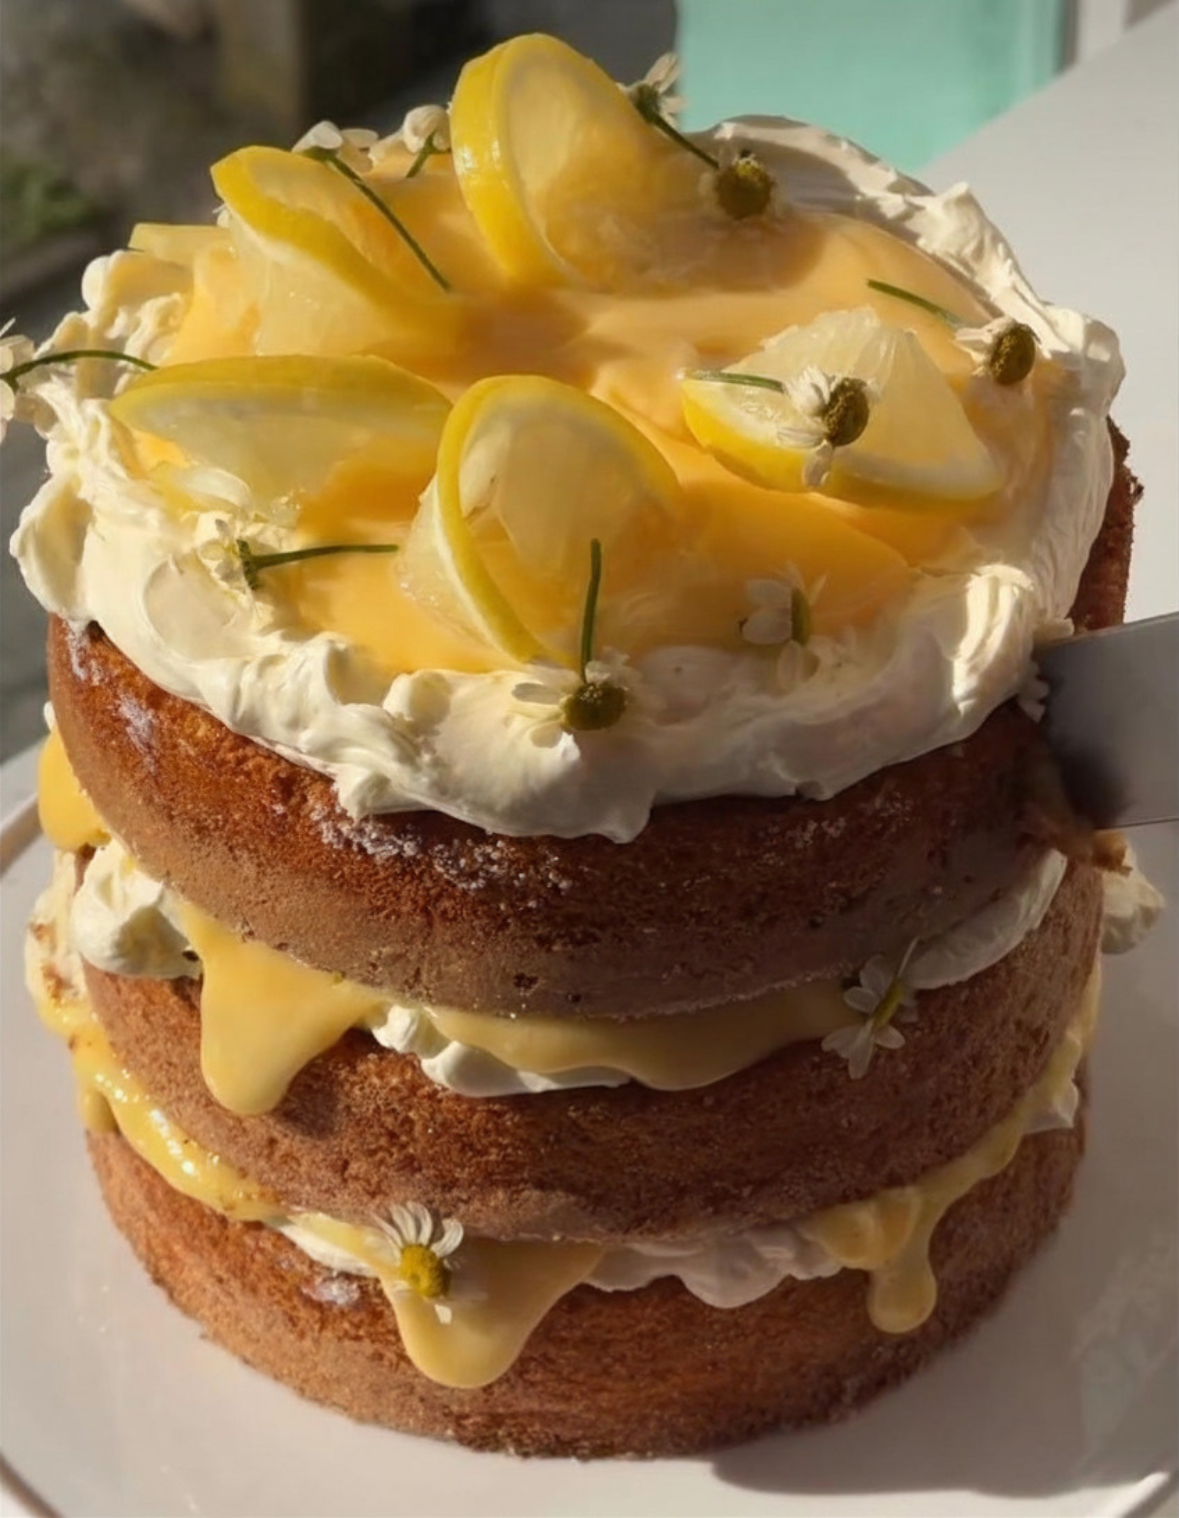
Whole Lemon & Almond Layer Cake
Lemon Cake
This incredibly moist lemon cake uses whole boiled lemons for an intense citrus flavour with no waste. The almond meal keeps it wonderfully tender, while the whipped eggs create a surprisingly light crumb. Layer it with lemon curd and whipped cream or buttercream for the ultimate celebration cake.
Makes: Three 6-inch cake layers
Ingredients
For the Cake
3 whole lemons
250g lemon purée (see method below)
6 large eggs
250g granulated sugar
250g ground almonds (almond meal)
100g all-purpose flour (or gluten-free flour)
5g baking powder
For Filling & Decoration
Lemon curd (recipe below)
Whipped cream or buttercream
Lemon zest (optional)
Lemon slices (optional)
Icing sugar, for dusting (optional)
How to Make the Lemon Purée
Place 3 whole lemons into a saucepan and cover with water.
Bring to a gentle boil and cook for approximately 40 minutes, or until the lemons are completely soft.
Remove the lemons and allow them to cool slightly.
Place the whole lemons (without the cooking water) into a food processor or blender.
Blend until completely smooth.
Measure out 250g of the lemon purée for this recipe.
Tip: Any leftover purée can be stirred into sparkling water with a little sweetener for a delicious homemade lemonade.
Method
Preheat your oven to 180°C (350°F) with fan, if you have that option. Line three 6-inch cake tins with parchment paper and baking spray.
In a large bowl, whisk together the eggs and sugar until the mixture becomes pale, light and airy. This step provides most of the lift for the cake.
In a separate bowl, combine:
Ground almonds
Flour
Baking powder
Stir the lemon purée into the dry ingredients until smooth.
Gently fold the whipped egg mixture into the lemon-almond mixture, taking care not to knock too much air out of the batter.
The finished batter will weigh approximately 1.4 kg. Divide evenly between the prepared tins (about 465–470g per pan). Smooth the top with a spatula so the batter is even.
Bake for 40–50 minutes, or until the cakes are golden and a skewer inserted into the centre comes out clean.
Allow the cakes to cool completely in their tins before removing.
Assembling the Cake
Once the cakes are completely cool, level the tops if needed (although they tend to bake quite flat).
Place the first cake layer onto a cake board or serving plate.
Spread a layer of whipped cream or buttercream over the cake.
Spoon on a layer of lemon curd.
Tip: Pipe a ring of buttercream around the outside edge before adding the lemon curd to prevent it from spilling out.
Repeat with the second cake layer.
Top with the final layer.
Frost the outside with whipped cream or buttercream.
Finish with:
Fresh lemon zest
Thin lemon slices
A light dusting of icing sugar (optional)
Notes
Boiling the lemons softens the peel and removes much of its bitterness while preserving all of the fragrant citrus oils.
The almond meal makes this cake exceptionally moist and keeps it fresh for several days.
Store refrigerated if filled with whipped cream, or at room temperature (cool weather) if using buttercream.
how to make Lemon Curd
Ingredients
4 large eggs
2 large egg yolks
1 cup granulated sugar
¾ cup fresh lemon juice (about 5–6 lemons)
1 tablespoon lemon zest (optional but highly recommended)
½ cup cold unsalted butter, cut into cubes
Pinch of salt
Method
1. Whisk the base
In a medium saucepan (off heat), whisk together:
eggs + egg yolks
sugar
lemon juice
lemon zest (if using)
pinch of salt
Whisk until smooth and fully combined.
2. Cook gently
Place the saucepan over medium-low heat.
Stir constantly with a spatula or whisk (don’t stop—this prevents scrambling)
After ~6–10 minutes, it will begin to thicken
You’re looking for:
A custard-like consistency
It coats the back of a spoon
If you run your finger through it, the line holds
3. Add the butter (this is key)
Remove from heat.
Add the cold butter cubes gradually
Stir until fully melted and silky
This step gives it that glossy, luxurious finish.
4. Strain (optional but chef-level move)
For ultra-smooth curd:
Strain through a fine mesh sieve to remove zest/any bits
5. Chill
Transfer to a jar or container
Press plastic wrap directly onto the surface (prevents a skin)
Refrigerate for at least 2 hours
It will thicken more as it cools.
Notes (from experience)
This is a rich, bakery-style curd
Keeps ~1 week in the fridge
Freezes surprisingly well
If it ever gets too thick, whisk in a tiny splash of warm water or lemon juice